DIY Pretty Framed Bird Print
I have a wonderful friend, Melody, who loves birds. My dear hubby and I were heading over to see our kids in Central Oregon this weekend & stopping by Melody's house to pick up some carefully hidden vintage ornaments she had gotten me. She was out of town so I couldn't see her. I wanted to make her something she would like to add to her pretty decor & remembered some images of birds that I had saved from The Graphic's Fairy. From there, my mind took over & with a silver plated picture frame I had been saving, paper, & glitter, I came up with my gift for Melody. I thought I'd share the steps if you'd like to make a version of your own.
Items you will need:
frame
print, picture, or image
coordinating scrapbook paper
printed words or verse
ink pad
ink or makeup pad
glitter dimensional paint
glitter
stick glue
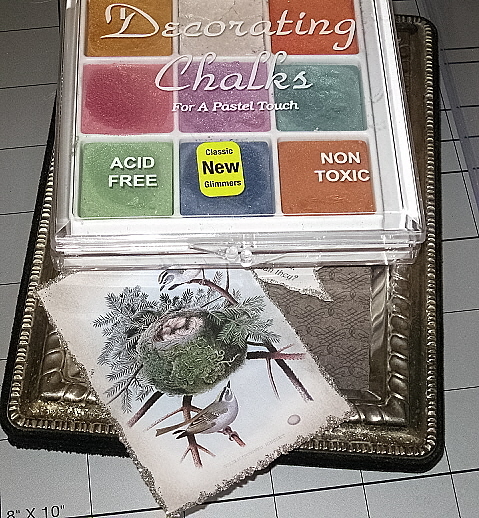
decorator chalks, if desired
embellishments of choice/tacky glue
Pick out a frame and image; print the image to fit the frame with at least 1/2 inch space on either side, plus a space large enough to fit your words or verse. My frame is a 5x7, with a 3 1/2 x 5 inside measurement and I printed my image 2 x 3. Cut the image edges with a decorative scissor.
Next, using the ink blotter pad, ink around the edge of the print with a coordinating ink, not a dark color; something muted like gray or brown. I used gray.
I worked with my word program on my computer and chose a bible verse about birds that I typed in a size 8 font. It is 18 font for the picture so you could see it more clearly. I centered the verse and printed it on a medium thick white cardstock.
I cut my coordinating cardstock scrapbook paper to fit my frame using the paper inside the frame as a guide. I got my paper from the "Lost & Found Two" by My Mind's Eye {6x6 pad}. I also cut loosely around my verse so I could size it when the paper & print were in the frame. This will vary with what you use & your size of frame.
When I figured how much space I had, I then cut the verse closer with the same decorative scissors as I used on the print and cut each end to resemble a banner. I continually checked for size & position as I did these steps to make sure everything fit.
I inked around the verse edges with the same ink. Here is a close up of the banner cut edges...
Of course, I had to add some sparkle, so next is the glitter. I used an old margarine lid and carefully put the dimensional glitter paint around the edge of the print & the verse very lightly. You can overlap onto the lid so you don't overdo the thickness of the glitter paint. Then sprinkle liberally the glitter & let it set until it dries, about 1/2 hour or so. Then tap off the excess glitter & blow off the remaining loose sparkles.
The next step is your choice to do or not. I like to add a little extra color & sparkle to my prints. I used the decorator chalks on the nest and the bird wings applying with my finger.
Then, using the glue stick, glue down the print & verse to the scrapbook paper. I added my embellishments after putting the finished print in the frame. I had a stick with moss that I used along with a mushroom bird. I used tacky glue to attach them. I added glitter to cover the glue & add some more sparkle...yeah I really needed to do that!!
After the glue had thoroughly dried, I used a can of air to blow off the excess glitter. I did this step because the moss had collected more than I wanted. I wanted a more subtle look. Hmmmm glitter & subtle don't go together, do they? LOL!
So here is the finished framed piece...
I enjoy making gifts that fit the person. Melody got home & found her gift hidden where she had left my beautiful ornaments for me. She text me this message..."Oh my gosh! I found my gift! You are SO amazing! Thank you so much! I love it!"
And that is why I do what I do...
Blessings,
Cindy
I'm linking to these parties:
Anything Goes At Eye Heart #6
Homemaker on a Dime~Creative Bloggers' Party & Hop 12.18.11
Graphics Fairy~Brag Monday
Faded Charm Cottage~White Wednesday #133


3 comments:
Hello Cindy:
We should echo Melody's words. And add kind, thoughtful, generous and very talented and skilled.
Despite your step by step instructions, where you make it all sound so simple, we should never be able to create such a lovely gift.
Oh Cindy this is lovely! :) Isnt it just the best when you make something and the persons smile and happiness is the thanks we need? You are very generous in sharing how to make this! :) Lovely!
Hugs,
This is soooo sweet!
And thanks for the 'how to'.
blessings
barb
Post a Comment